Patching Holes in Outdoor Gear: Quick Fixes Every Adventurer Should Know
Anyone who spends time outdoors knows how important reliable gear is.
A small hole in your tent or a tear in your rain jacket can turn a comfortable adventure into an emergency.
In the wild, gear failure is more than an annoyance—it can mean the difference between safety and risk, especially during emergencies.
That’s why knowing how to patch holes in outdoor gear is a key survival skill. You don’t need to be an expert; you need practical knowledge, the right materials, and a cool head.
This guide will show you how to repair common damage to outdoor gear, including backpacks, tents, jackets, sleeping pads, and more.
We’ll cover tools, methods, and tips for both quick field fixes and longer-term repairs at home.
You’ll also learn how to prepare for gear emergencies before you leave home, so small problems don’t turn into big ones.
Whether you’re a hiker, camper, or survivalist, these skills can keep you safe and comfortable outside.

- [Size]:4″×63″,Large size enough to help you repair all kinds of fabric damage, such as tears, pet scratches, holes, fading, burns and other fabric repair related problems.
- [Suitable for all kinds of fabrics and conditions]:Fabric patch works perfectly with fabrics such as linen, velvet,suede, cotton, leather and nylon. You can use them on items like sofas, tents, car seats, tote bags, luggage, curtain,etc.
- [Made of 100% Cotton Canvas ]:The 0.6mm thick canvas patch is tight and firm but soft.Integrate with the sofa.Super durable.Great for repairing all kinds of torn fabrics, protects and reinforces fabrics.
- [Super Sticky Self-Adhesive]:In order to ensure that canvas repair kit can work for a long time, a special fabric adhesive is featured on the back of canvas patches self adhesive ,so canvas patches will not fall off easily, You don’t need to iron, sew or other tools, saving you so much time.
- [Lifetime Warranty]: Every canvas patch repair kit sold is backed by our worry-free warranty and a money-back guarantee. For whatever reason, you are not satisfied with our products, please feel free to reach out to us and we will provide a full exchange or refund.
Last update on 2026-10-09 / Affiliate links / Images from Amazon Product Advertising API
Why Gear Repair Matters For Survival
When you’re far from help, gear is your lifeline. Your tent keeps out rain and wind. Your sleeping pad gives insulation from the cold ground.
A rain jacket keeps you dry, and your backpack carries everything. If any of these fail, you could face serious risks—hypothermia, lost supplies, or even injury.
Fast, effective patching keeps you moving and safe.
Two key insights: First, outdoor emergencies rarely announce themselves. A sunny day can turn into a storm, and a small tear can become a big problem.
Second, some repairs must work in harsh conditions—cold, rain, or wind—so simple, reliable methods matter most.
Common Outdoor Gear That Gets Damaged
Outdoor gear is built to last, but rough terrain, sharp objects, and repeated use can cause damage. Here are the most common items that need patching:
- Tents: Tears from branches, rocks, or high winds.
- Backpacks: Holes from overloading or abrasion.
- Sleeping pads: Punctures from sharp ground debris.
- Rain jackets and pants: Snags on thorns or wear at seams.
- Down jackets and synthetic insulation: Rips and leaking insulation.
- Tarps and ground sheets: Cuts and punctures from rough ground.
- Inflatable gear: Air leaks from punctures.
Each material—nylon, polyester, canvas, or rubber—needs different care. For example, thin silnylon tents require a different patch than heavy-duty canvas tents. Recognizing the right fix is part of your repair skill set.
Essential Gear Repair Supplies
A well-stocked repair kit is your first defense against gear failure. Some items are light enough to pack, while others can stay in your car or at base camp.
Here’s what experienced hikers and survivalists recommend carrying:
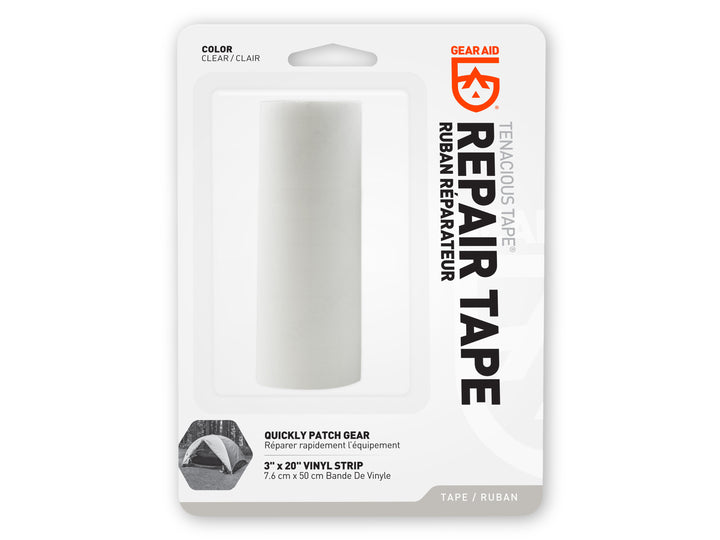
- Tenacious Tape or Gear Repair Tape: Sticks to most fabrics, is waterproof, and is flexible.
- Sewing Kit: Heavy-duty needle, strong polyester thread, and a thimble.
- Seam Sealer or Urethane Adhesive: Seals stitching holes and repairs.
- Patches: Pre-cut fabric patches for jackets and tents.
- Superglue or UV-curing adhesive: Quick fixes for small tears.
- Alcohol wipes: Clean surfaces before patching.
- Scissors or small knife: Trim fabric or tape.
- Duct tape: Universal emergency patch for almost everything.
- Valve repair kit: For inflatable sleeping pads and mattresses.
- Safety pins: Temporary closure for tears.
- Extra buttons or snaps: For clothing repairs.
Pro tip: Store small repair items in a zippered pouch or waterproof bag. Label it so you can find it fast in an emergency.
Field Repairs Vs. Permanent Repairs
Not all repairs are equal. In the field, your goal is to restore function quickly, even if it’s not pretty. At home, you can make permanent fixes that last longer.
Field Repairs
- Speed and Simplicity: Use tape, glue, or safety pins.
- Waterproofing: Make sure repairs keep out water.
- No sewing unless essential: Sewing in the rain is hard.
Permanent Repairs
- Stitch and Seal: Sew strong, then apply seam sealer.
- Patch from inside and outside: Double patching adds strength.
- Use the correct patch material: Match the fabric type for the best bond.
Example: On the trail, a strip of duct tape can keep a tent waterproof for days. At home, you’ll want to sew the tear and seal it for lasting strength.
How To Patch Holes In Tents
Tents protect you from the elements, so a hole can quickly become a big problem. Let’s walk through both quick field patches and solid repairs at home.
Field Repair: Quick Patch
- Clean the Area: Dry and wipe clean with an alcohol wipe.
- Apply Repair Tape: Cut a piece of tape at least 1 inch larger than the hole on all sides. Press firmly.
- If wet, dry as much as possible before applying. If not, use duct tape, but replace later.
Permanent Repair: Patch And Seal
- Clean and Dry: Use soap and water, then dry thoroughly.
- Trim Ragged Edges: Cut away loose threads.
- Apply Patch: Use a fabric patch (nylon for nylon tents). Place on both sides of the hole if possible.
- Stitch: Sew around the patch using a zigzag or backstitch.
- Seal Seams: Apply seam sealer to all stitching.
Data point: A 2-inch rip in a tent wall can let in several liters of rainwater overnight during a storm. Fast repair is essential for comfort and safety.
Repairing Backpacks In The Field
Backpacks take a lot of abuse—scrapes, overloads, and heavy rain. A ripped pack can dump your gear or let water in. Here’s how to handle it:
- Unload the area: Take out items near the hole.
- Clean and Dry: Wipe the area.
- Emergency Tape: Place duct tape or repair tape over the hole on both the inside and outside.
- For large tears, use safety pins to hold the fabric together before taping.
- Strap repairs: Sew with heavy-duty thread or use webbing from a spare strap.
Non-obvious tip: Backpack bottoms and corners fail more often than the sides. Check these spots regularly.
Fixing Sleeping Pads And Inflatable Gear
A punctured sleeping pad can ruin your night and increase the risk of hypothermia.
Fast repair is crucial.
Finding The Leak
- Listen and feel: Inflate and press; listen for hissing.
- Water test: Submerge in a creek or use soapy water; bubbles mean a leak.
- Mark the spot: Use a pen or mud.
Field Repair Steps
- Dry the area: Essential for tape or glue to stick.
- Apply Patch: Use a dedicated pad repair patch. Press hard.
- If no patch kit, layer duct tape, then reinforce later.
At-home Repair
- Lightly sand the area for better adhesion.
- Use the included adhesive; most kits include glue. Apply and wait as directed.
- Double patch: For high-pressure pads, patch both sides if possible.
Non-obvious insight: Many pads need at least 30 minutes for the glue to cure.
Don’t rush—otherwise, the patch may peel off.
Repairing Rain Jackets And Clothing
Clothing repairs are about staying dry and warm. Even a small tear in your rain jacket or pants can let in water and wind.
Quick Field Fix
- Dry and flatten: Lay the fabric flat.
- Repair tape: Place tape over the tear, smoothing out bubbles.
- Inside patch: If possible, tape both the inside and outside for added strength.
Permanent Repair
- Sewing: Use a fine needle and strong thread. Sew small, tight stitches.
- Seam sealer: Apply to the inside stitching to block water.
- Specialized patches: Some brands make iron-on or stick-on patches for their gear.
Data: According to studies on outdoor gear, rain jacket failure is one of the top three causes of emergency evacuations in wet climates.

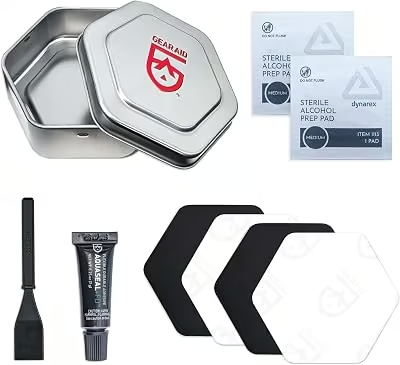
- Permanent Repairs – Seal seams and fix holes in tents, tarps, awnings, rainflies, and gear like Thermarest sleeping pads with a flexible, waterproof adhesive.
- Covers 12 Feet of Seams – One 1 oz tube treats up to 12 feet of seams or patches torn fabric: 8 oz size also available for larger repair needs.
- Durable & Flexible Seal – Cures into a rubber seal that flexes with fabric, bonds to nylon, polyester, canvas, leather, and vinyl for long-lasting performance.
- Won’t Peel or Crack – Designed to stay put through heavy use and weather; ideal for re-proofing or fixing gear that needs to stay waterproof.
- Easy Application – Comes with applicator brush for precise, mess-free repairs at home or in the field.

Last update on 2026-10-09 / Affiliate links / Images from Amazon Product Advertising API
Repairing Down Jackets And Insulated Gear
Down jackets and sleeping bags are vulnerable to small rips that leak insulation. Losing feathers or synthetic fill quickly reduces warmth.
Field Method
- Repair tape or “gear patches”: These are best. They block leaks and flex with the fabric.
- Duct tape: Works in a pinch, but can leave residue.
- Don’t sew unless you must: Sewing can create new holes for down to escape.
Permanent Repair
- Patch both sides: the inner patch provides insulation; the outer patch provides strength.
- Use lightweight fabric: Match the jacket material for the best feel.
- Apply adhesive: Use fabric glue or an iron-on patch for a clean finish.
Pro tip: Down escaping? Push it back in with a toothpick or tweezers before patching.
Repairing Tarps, Ground Sheets, And Canvas
Tarps and ground sheets face sharp rocks, sticks, and heavy loads. Canvas needs a tougher approach than thin nylon.
For Nylon Or Polyester Tarps
- Clean and dry: Essential for tape or glue.
- Apply repair tape: Overlap by at least 1 inch past the hole.
- Double patch: For high-wear spots, patch both sides.
For Canvas Gear
- Sew with a strong needle and thread: Use a “baseball stitch” for strength.
- Waterproof: Seal with wax, seam sealer, or flexible glue.
- Canvas patch: Use canvas for patch material—other fabrics may not last.
At-home Tips
- Iron-on patches: Work well for polyester, not for canvas.
- Sealing edges: Prevents the patch from peeling over time.
Data: Studies show that patched tarps last up to 80% as long as new ones if fixed promptly.
Credit: prismkites.com
Emergency Patching In Survival Situations
Sometimes, you won’t have a repair kit. In a true survival situation, you must improvise with what you have.
Improvised patching methods:
- Duct tape: Always useful. If you have only a small roll, prioritize shelter and sleeping gear.
- Plastic bags: Layer inside a torn jacket or shoe to block wind and water.
- Shoelaces or cord: Stitch together torn gear or tie up packs.
- Tree resin or pine pitch: Sticky, waterproof, and can seal small holes in tarps or shoes.
- Clothing scraps: Cut a strip from your shirt or sock for a quick patch.
Non-obvious insight: Using bandages from your first aid kit as a patch can block wind and keep insulation in place for hours.
Table: Field Repair Materials Comparison
Here’s a quick look at the effectiveness of common field repair materials for different gear types:
| Material | Tents & Tarps | Clothing | Sleeping Pads | Backpacks | Insulated Gear |
|---|---|---|---|---|---|
| Repair Tape | Excellent | Good | Excellent | Good | Excellent |
| Duct Tape | Good | Fair | Fair | Excellent | Fair |
| Sewing Kit | Good | Excellent | Poor | Good | Fair |
| Glue/Adhesive | Good | Fair | Excellent | Fair | Good |
| Improvised Materials | Fair | Fair | Poor | Fair | Fair |
How To Prepare Your Repair Kit Before A Trip
Preparation is the best way to avoid gear emergencies.
Here’s how to pack a repair kit that fits your style:
- List your gear: Note what you’re bringing—tent, pad, jacket, etc.
- Check for weak spots: Inspect zippers, seams, and areas of known wear.
- Pack multi-use items: Duct tape, repair tape, sewing kit, glue, safety pins.
- Bring specialized patches for sleeping pads and rainwear.
- Small scissors or knife: For cutting patches or tape.
- Carry alcohol wipes: Clean before applying a patch.
- Store in a waterproof bag: Easy to find and keeps items dry.
Example repair kit for a 3-day hike:
- 2 feet of repair tape (cut into 4-inch strips)
- 3 feet of duct tape (wrapped on a pencil)
- 1 needle, 10 feet of thread
- 2 alcohol wipes
- 2 safety pins
- 1 sleeping pad patch
- Small tube of gear glue
Table: Home Vs. Field Repair Comparison
Understanding the difference between repairs done at home and in the field helps you choose the right approach.
| Feature | Field Repair | Home Repair |
|---|---|---|
| Speed | Fast (minutes) | Slower (hours) |
| Durability | Temporary to moderate | Long-lasting |
| Tools Required | Minimal | Full repair kit/tools |
| Waterproofing | Good (with tape) | Excellent (with sealant) |
| Appearance | Rough | Neat |
| Cost | Low | Low to moderate |
Credit: www.amazon.com
Mistakes To Avoid When Patching Gear
Even experienced hikers make mistakes when fixing gear. Avoid these common errors for better results:
- Patching wet or dirty surfaces: Tape and glue won’t stick to them.
- Using the wrong patch material: Nylon on canvas won’t hold well.
- Skipping seam sealer: Water can find its way through even the smallest holes.
- Not pressing patches firmly: Air pockets weaken the bond.
- Forgetting to test before use: After repair, check if the gear is fully functional.
Non-obvious tip: Letting a patch “rest” for 10-15 minutes before use helps adhesives set, even in the field.
Advanced Tips For Long-term Gear Repair
For those who want to go beyond basic fixes, these tips will extend your gear’s life:
- Double-patch high-wear areas: Inside and outside patches share the load.
- Reinforce corners and stress points: Use extra fabric or webbing.
- Upgrade zippers and snaps: Replace weak parts before they fail.
- Waterproof seams regularly: Seam sealer isn’t just for repairs—use it as maintenance.
- Keep gear clean: Dirt and oils weaken adhesives and fabrics.
Example: Adding a second patch to a hole in a tent floor can prevent repeated failures, even on rough ground.
Table: Patch Material Durability
To help you choose the best patch for each job, here’s a look at patch material durability:
| Patch Material | Best For | Expected Lifespan | Water Resistance |
|---|---|---|---|
| Tenacious Tape | Nylon/Polyester | 1-2 years | Excellent |
| Duct Tape | All-purpose | Days to weeks | Good |
| Canvas Patch | Canvas gear | 2+ years | Good (if sealed) |
| Iron-On Patch | Clothing | 1-2 years | Fair |
| Liquid Adhesive | Inflatables | 1-2 years | Excellent |
Training Your Repair Skills: Practice Makes Perfect
The best time to learn gear patching is before you need it. Practice at home on old gear before heading out. Try patching a small rip in a jacket or gluing a puncture in an old sleeping pad.
This builds confidence and helps you know which tools and techniques work best for your setup.
Non-obvious insight: Set a timer for five minutes and challenge yourself to fix a hole quickly—this simulates real stress during an emergency.
When To Replace Instead Of Repair
Not all gear can be saved. If you find:
- Multiple large holes
- Fabric is rotting or delaminating
- Zippers and seams are failing everywhere
- Patches no longer stick
…it’s time to replace the item. Sometimes, patching is only a temporary solution, and reliable gear is always the best insurance.
Building A Survival Mindset
Patching outdoor gear is more than a skill—it’s a mindset. It’s about being resourceful, calm, and prepared. In survival situations, the ability to fix what you have is as important as the gear itself.
Every repaired hole is proof that you’re ready for the unexpected.
For more in-depth gear maintenance strategies, the REI Expert Advice page offers excellent resources.

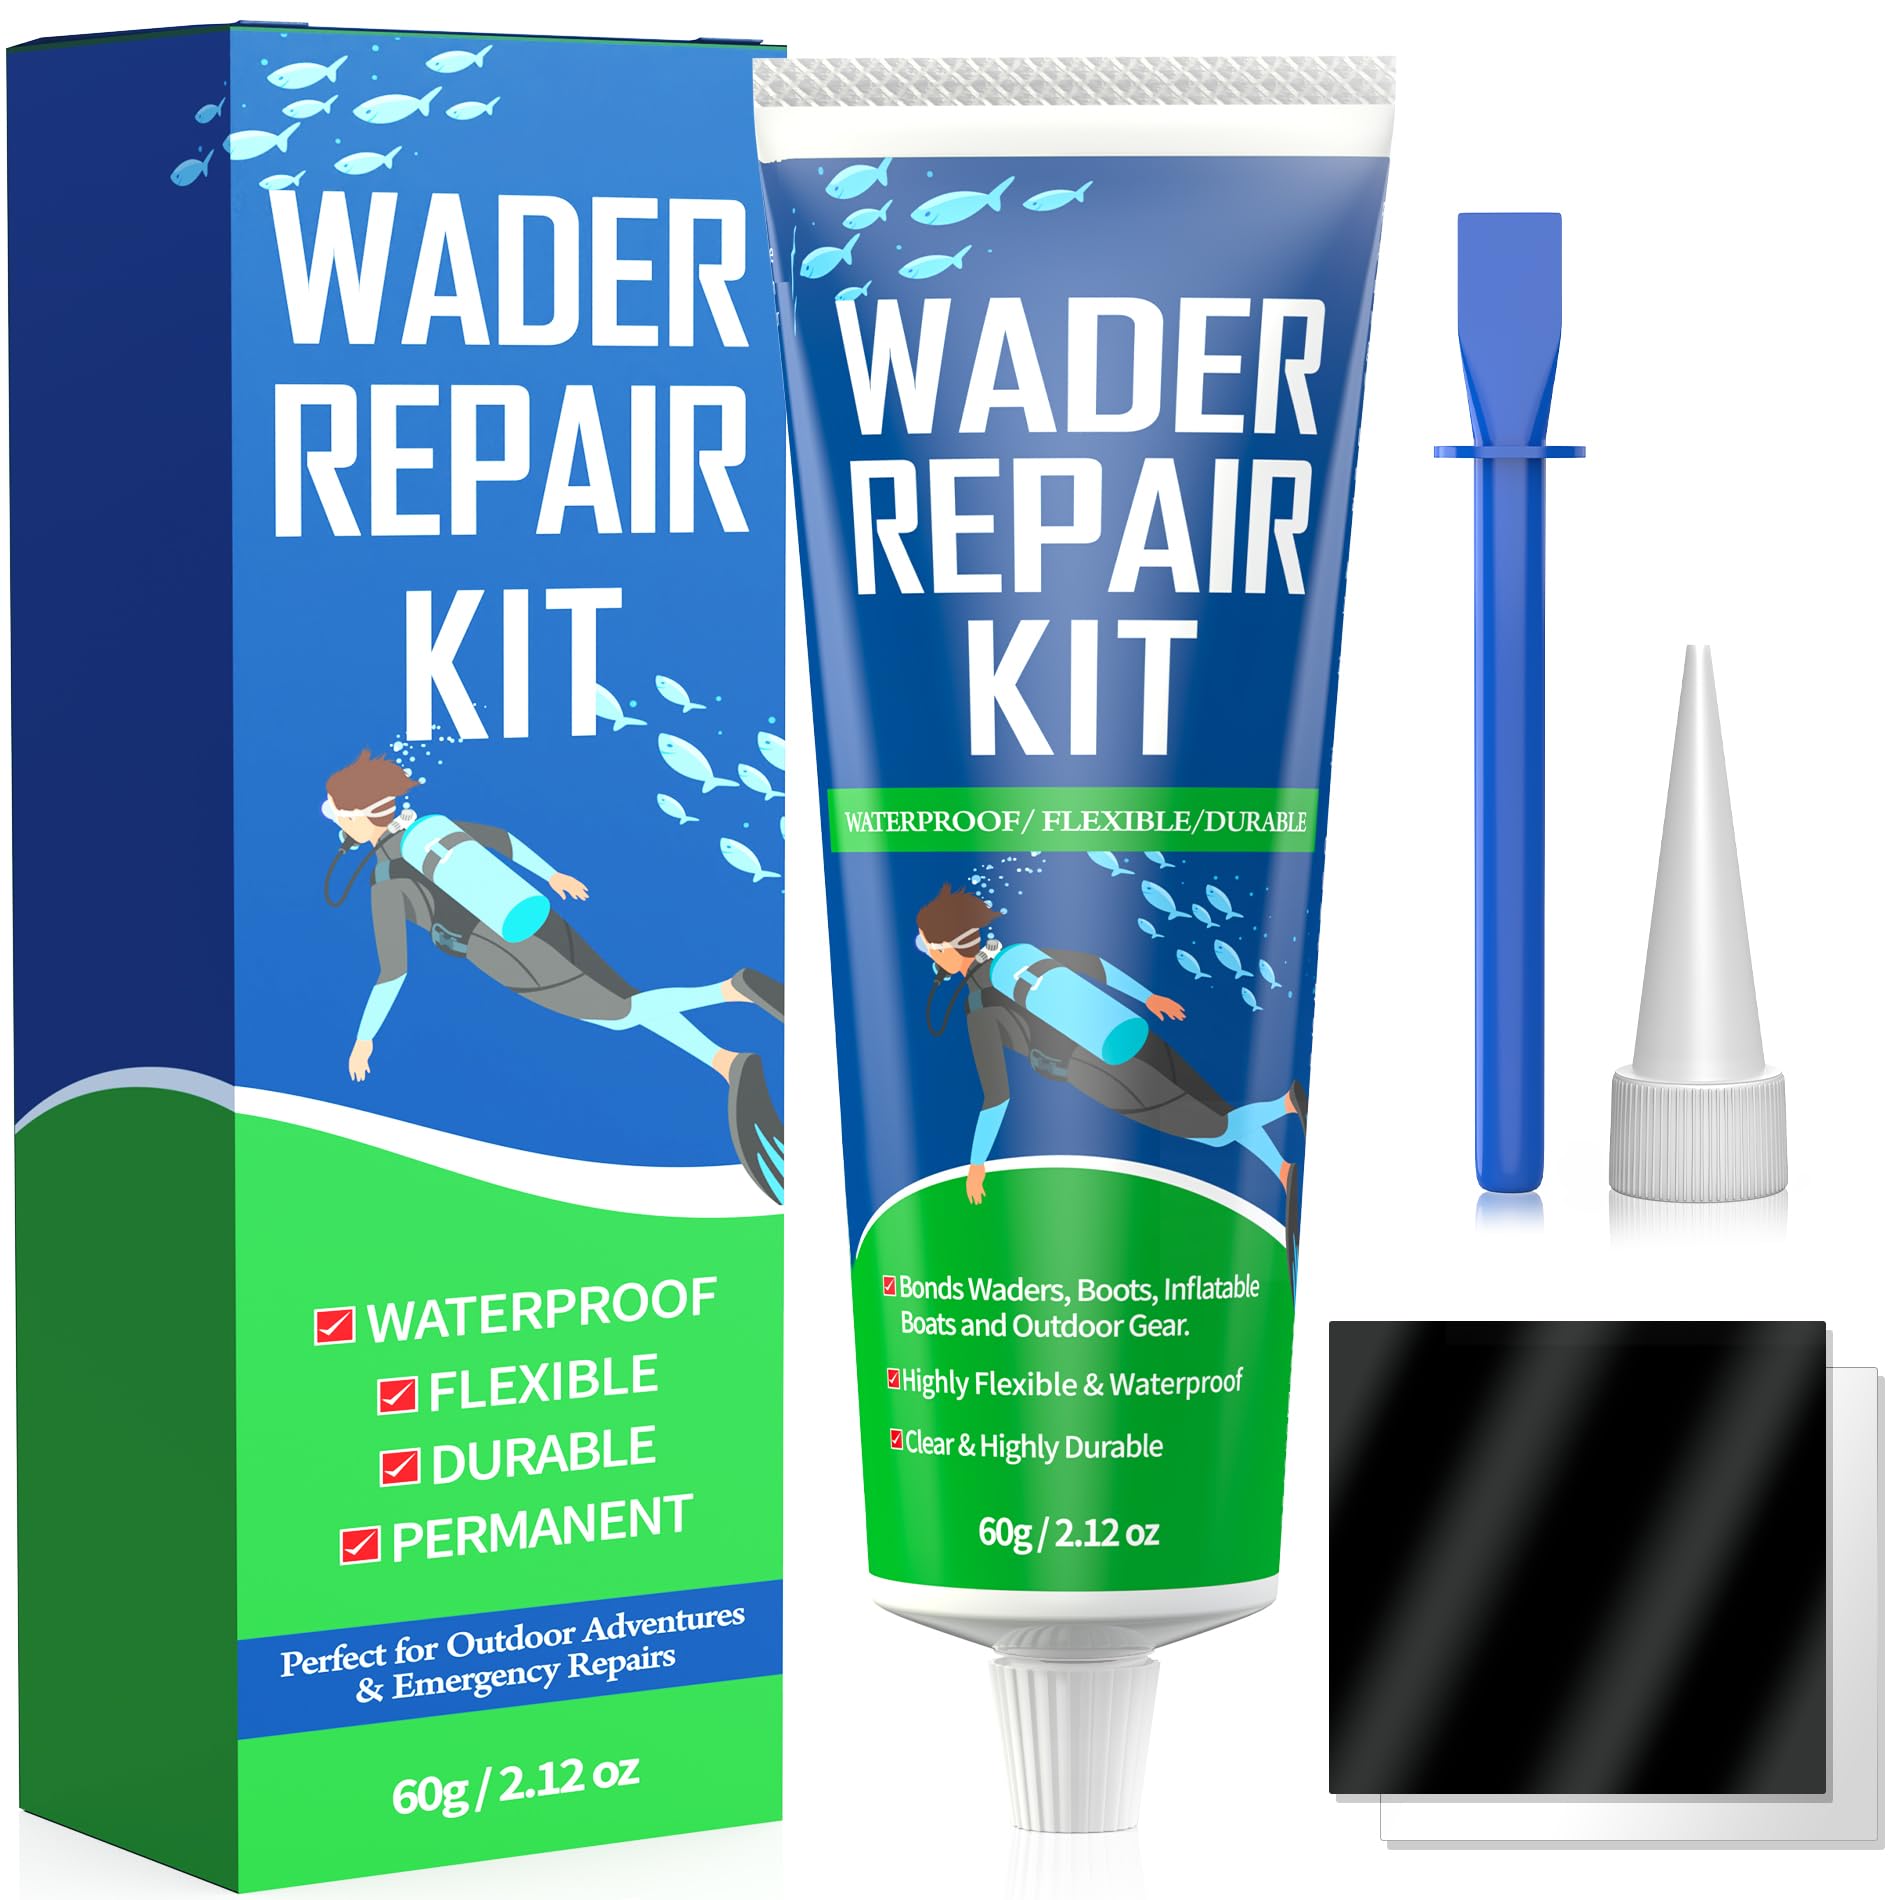
- Fix rips and tears permanently on waders, wetsuits, PVC inflatables, muck boots, and more with this waterproof and flexible adhesive
- Use it as a fabric and vinyl repair adhesive to patch holes and seal leaks; cures in 8-12 hours to a flexible urethane rubber (available in 0.75 oz or 8 oz tube)
- Apply this clear glue to neoprene, nylon, canvas, leather, rubber, and GORE-TEX fabric; creates a water-tight seal that won’t peel or crack over time
- Resist abrasions and scratches with a repair that is unaffected by extreme temperatures
- Packaging may vary

Last update on 2026-10-09 / Affiliate links / Images from Amazon Product Advertising API
Frequently Asked Questions
What Is The Best Tape For Patching Outdoor Gear?
Tenacious Tape and other specialized gear repair tapes are best for most fabrics. They are flexible, waterproof, and stick well in tough conditions. Duct tape works in emergencies but is less durable and can leave sticky residue.
Can I Patch A Tent In The Rain?
It’s possible, but results are less reliable. Dry the area as much as possible and use strong tape. Plan to redo the patch in better conditions later. Water can weaken glue and cause patches to peel.
How Do I Find A Leak In A Sleeping Pad?
Inflate the pad, listen for hissing, and feel for air movement. If you can’t find it, use soapy water—bubbles will show the hole. Mark the spot before it dries.
Is Sewing Or Taping Better For Repairs?
Both have their uses. Tape is faster and more waterproof for small holes. Sewing is stronger for large tears, but always use seam sealer to block water after stitching.
What If I Don’t Have A Repair Kit In An Emergency?
Improvise with what you have: duct tape, safety pins, bandages, or even clothing scraps. The goal is to restore function until you can make a permanent repair.
—
When you’re in the wild, gear failure isn’t just inconvenient—it can be dangerous.
But with knowledge, the right supplies, and a problem-solving attitude, you can patch almost any hole and keep your adventure on track.
By preparing before you go and practicing your repair skills, you’ll be ready for whatever nature throws your way.
That’s true outdoor confidence—one patch at a time.




8 Comments